


Collapsible content
How to Use
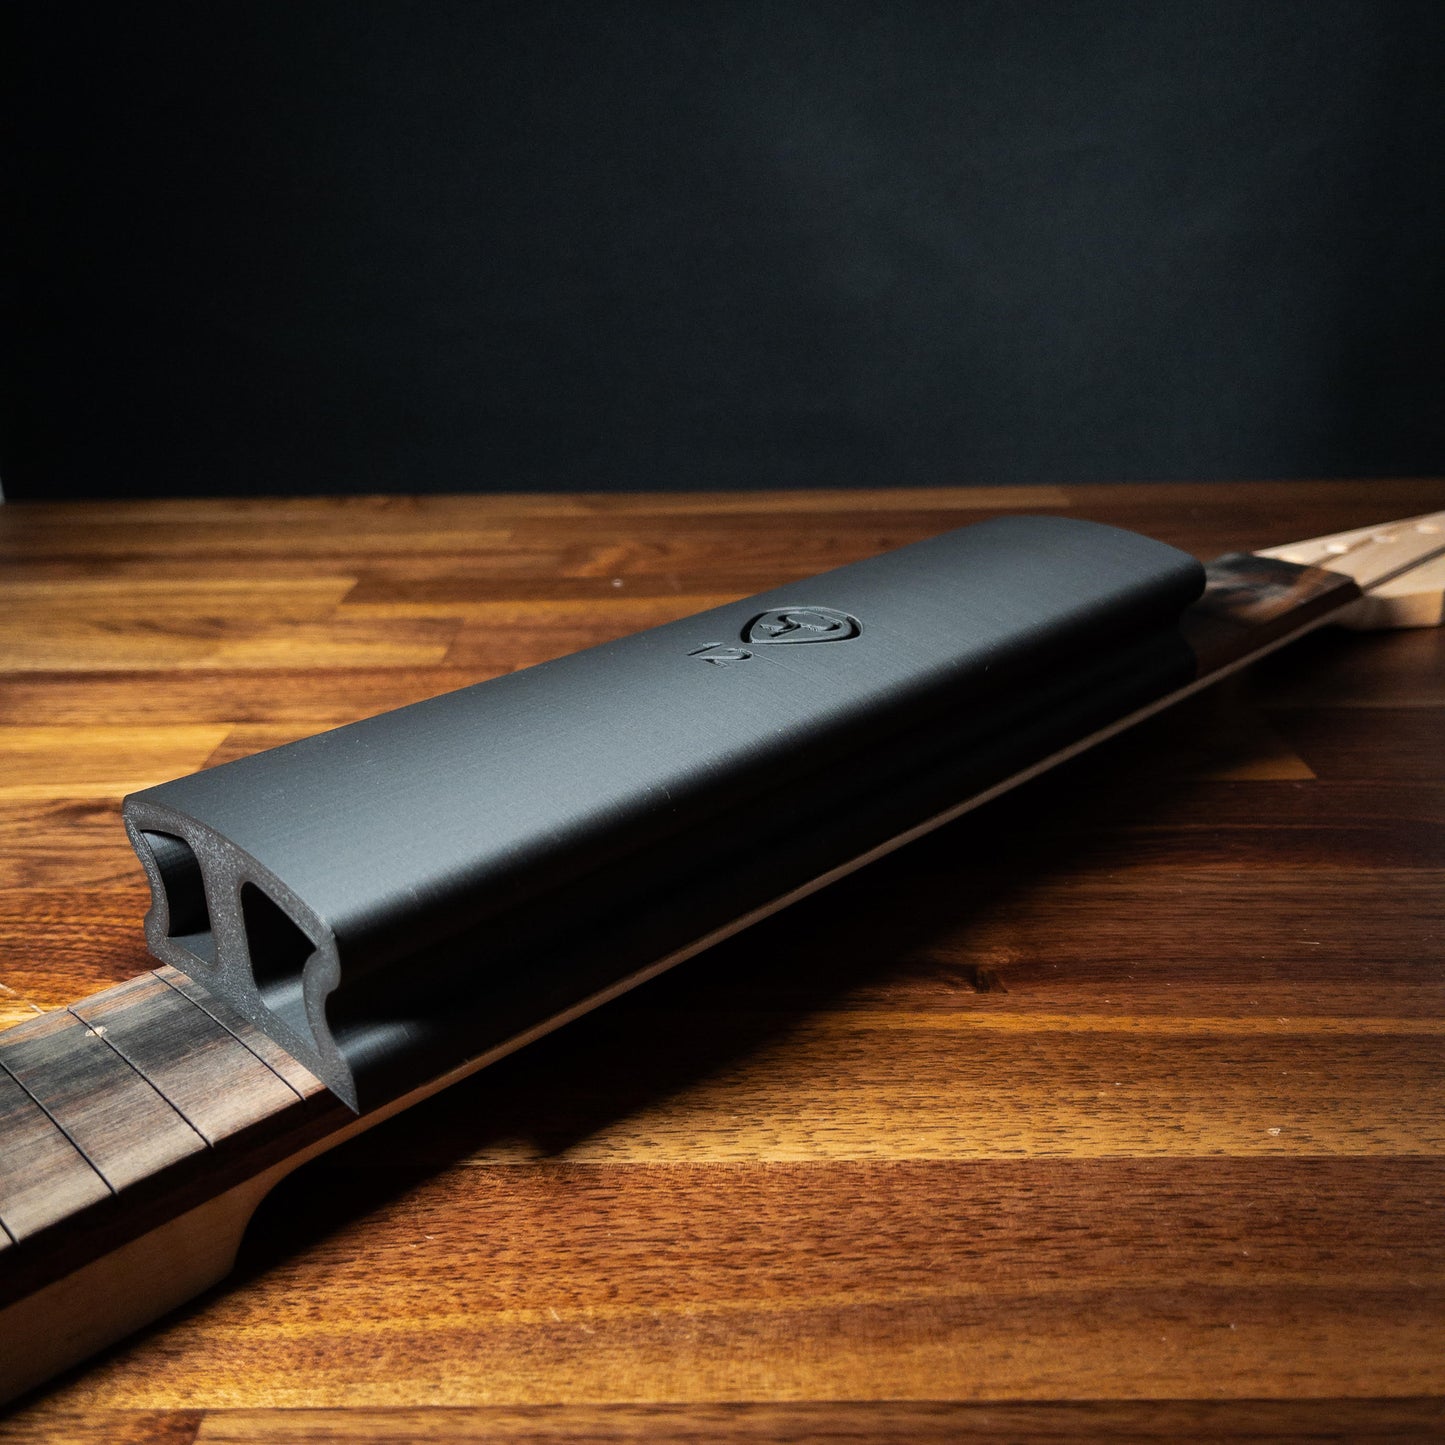
At a glance
- Apply 2.75" adhesive-backed sandpaper to the curved face. Trim flush.
- Sand lengthwise along the fretboard with even pressure. Do not twist.
- Step up through grits as the surface evens out.
Step-by-step
- Apply sandpaper. Press 2.75" adhesive-backed sandpaper firmly onto the curved face. Trim any overhang flush with the block's edges so it doesn't catch on the fretboard.
- Mark witness lines. Scribble a crosshatch pattern across the fretboard with a soft pencil. As you sand, the pencil disappears from the high spots first and remains in the low spots. When the crosshatch is gone everywhere, the block has reached the whole surface.
- Choose your starting grit. 80–120 for new fretboards or refret prep where there's wood to remove. 220 if the board is already close, including a board coming off the Fretboard Radius Jig, and you're cleaning it up. 320, 400, and higher for finishing.
- Sand lengthwise with even pressure. Hold the block flat to the fretboard and stroke along the length of the fretboard, nut to heel and back. Keep the block square. Do not twist or rock side-to-side. Twisting changes the radius.
- Re-mark and check often. Refresh the crosshatch between grits and confirm the block is touching the full surface before stepping up.
Notes
- Verify the radius at every grit with a radius gauge. Twisting or uneven pressure can shift the profile, and catching it early means a few extra strokes instead of starting over.
- Clean the fretboard between grits with a vacuum, brush, or compressed air. Leftover coarse grit will gouge the surface when you step up to a finer paper.
- The 4" length is best for spot leveling and smaller corrections. The 8" and 10" cover the full board faster with a more consistent stroke.
- Change or clean paper often. Loaded paper cuts unevenly and inefficiently.